Recently, I started subscribing my blog visitors to a newsletter. Also, signup below and thank you. Anyway, I started using MailChimp which is a good service and offers a Facebook Page app for free. Alas, I went ahead and integrated MailChimp into my Facebook Page. However, I found that there was limited customization to the form. For example, I couldn’t reorder or disable the fields. This left the form appearing very odd like asking for a date of birth. Don’t get me wrong, in some cases, that can be necessary but not mine. I wanted just a simple form with First Name, Last Name and Email. As a result, I scoured the interwebs and came across this post which was exactly what I was looking for creating a newsletter signup for a Facebook page. Unfortunately, and as with many blog tutorials, they only take you so far and the rest you need to figure out on your own. That is like all of life overall, really. Anyhow, after reading through the post I found a few items I needed.
- I wanted to store my code publicly in GitHub and I don’t want to store my super-secret MailChimp API keys in code. This is just bad practice and never do it.
- After a form completes successfully, it should clear the fields. That’s just good user experience and always do it.
- I wanted to host this on Microsoft Azure because they have a free websites tier which includes SSL for the azurewebsite.net domain. Which is perfect for a simple Facebook App.
All right that about sums it up, let’s start creating a newsletter signup for a Facebook page using MailChimp, PHP and jQuery.
What ls Needed
- A Facebook Page
- A MailChimp Account
- A Microsoft Azure Account
Don’t have these? I recommend going to Facebook, MailChimp and Azure to create an account. I will not bore anyone with those details.
Software I am Using
- Visual Studio Code
- FileZilla
- Firefox Developer Edition
Overview of Steps
- Gather MailChimp API Key and List Id
- Create Azure Website 1. Add Api Key and List Id to Azure Website Application Settings
- Create Facebook App 1. Add Facebook App to Facebook Page
- Clone this GitHub Repository
- Create validator.js File
- Customize index.php File
- Customize subscribe.php File
- Add web.config File
- Deploy to Azure
- Test on Facebook Page
Gather MailChimp API Key and List Id
Getting an Api Key
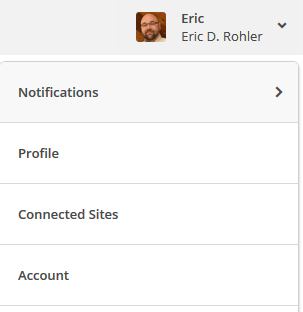
Navigate to your account
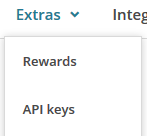
Select API Keys under Extras
Select create key
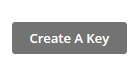
Copy the provided API Key and store it somewhere safe.
Getting your List Id
Navigate to your lists
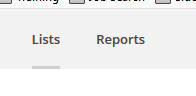
Select your list
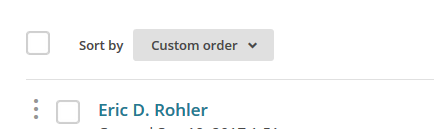
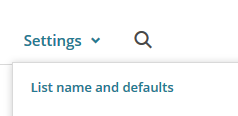
Choose List Name and Defaults from the settings drop down
In the top right column is your List ID section
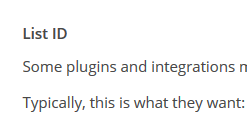
Grab that and store it in a safe place, preferably, the same place as the API Key
Create an Azure Web App in the free tier
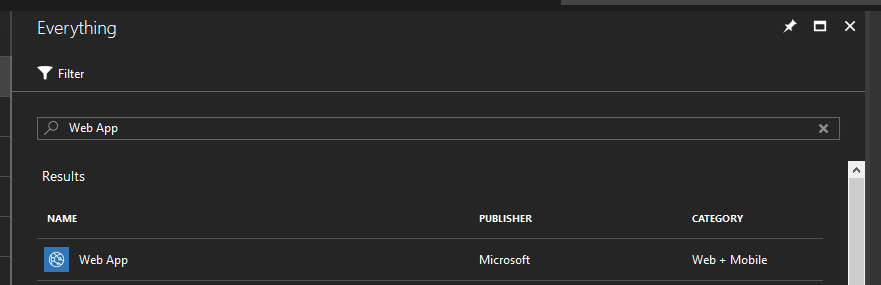
Select the large plus sign at the top left
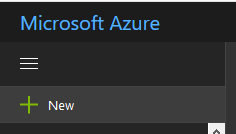
Search Web App
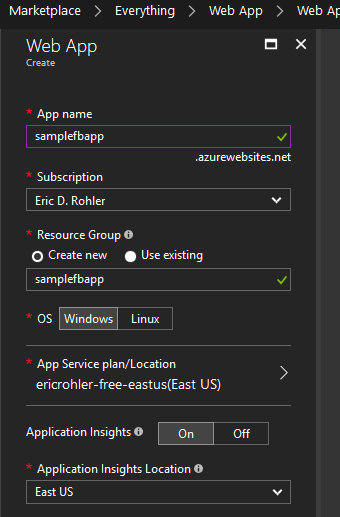
Enter the required information.
Two things:
- Turn on app insights it is an amazing resource for debugging, views and availability.
- Make sure to create an App Service Plan in the free tier.
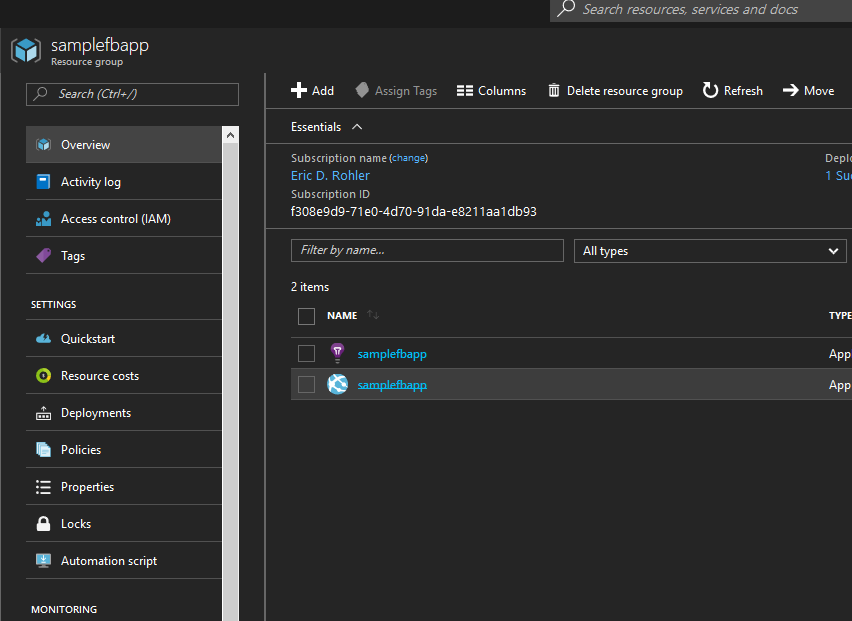
Add Api Key and List Id to Website Settings
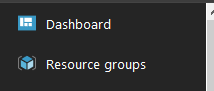
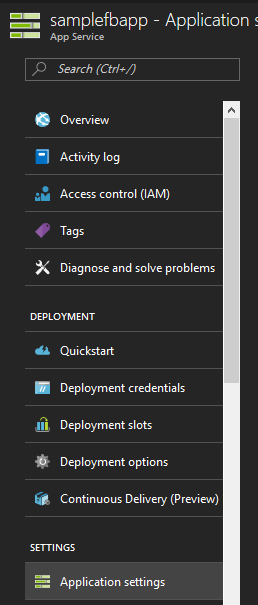
Select resource groups from the top left of the navigation bar
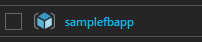
Select your new resource group
Select Application Settings
Scroll down to the App settings section and enter the following

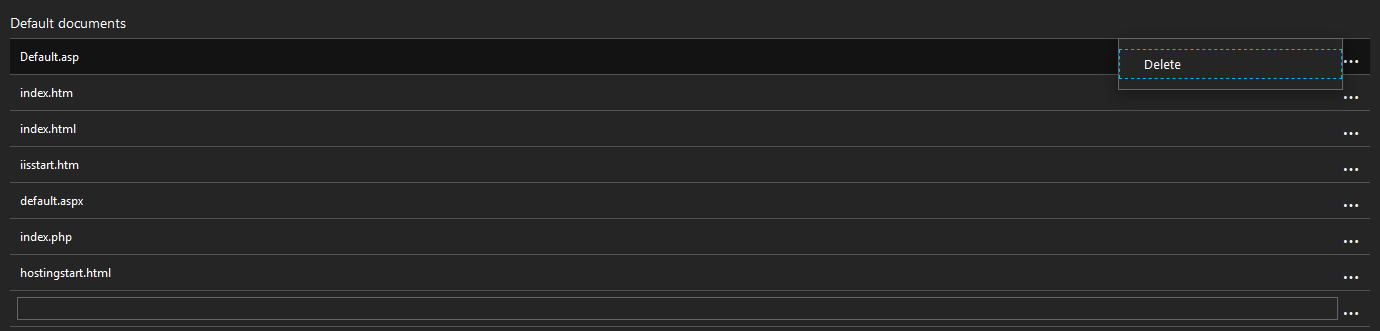
Delete the Additional Default Documents
Keep the index.php but remove the rest.
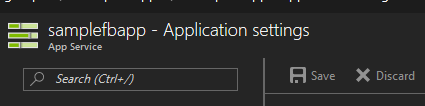
Save your changes
Create Facebook App
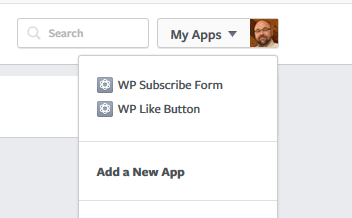
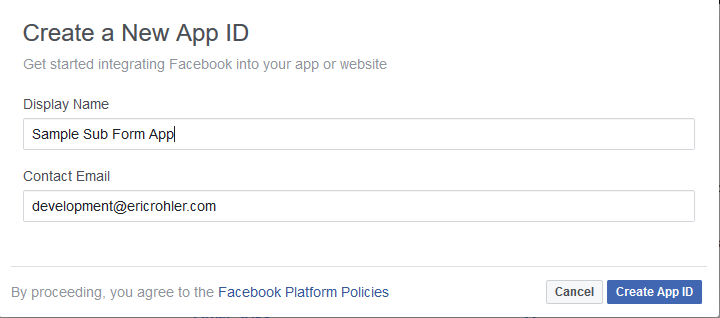
This is straight forward. Head over to developers.facebook.com, setup your account and select add a new app.
Add your display name and email.
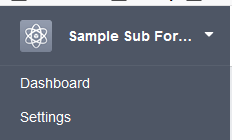
Here it will land on the select product page, don’t bother with this. Just go to Settings.
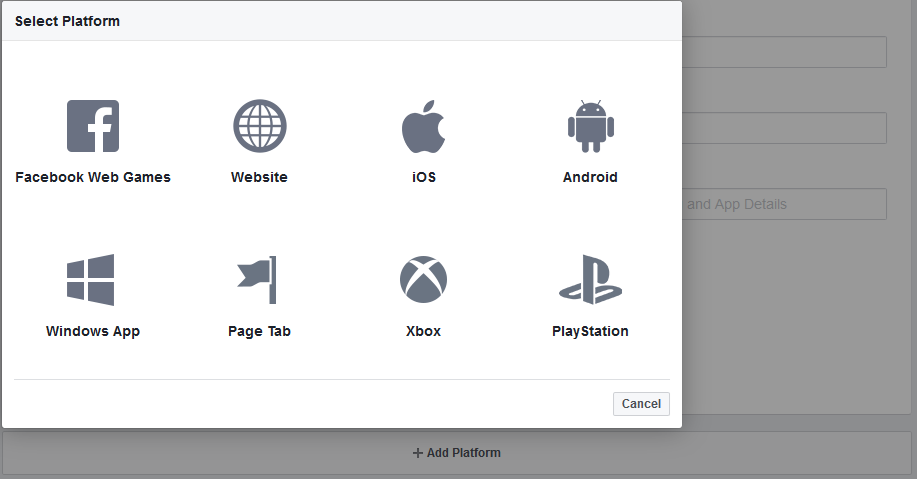
Select + Add Platform and choose Page Tab
On the App and Page Tab section enter your app domain, Secure Page Tab URL and Page Tab Name
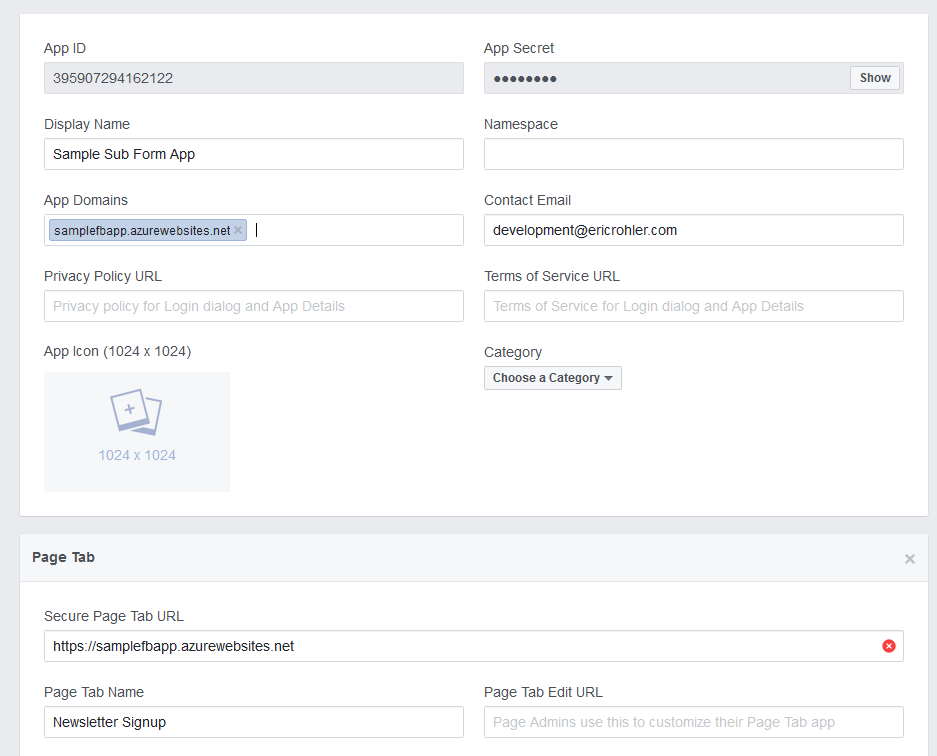
Save Your Changes.
Adding the App to your Page
Simply, sign in, edit the below URL with the app id and secure page tab URL, navigate to it via web browser and select the desired page.
http://www.facebook.com/dialog/pagetab?app_id=FB_APP_ID&next=FBAPP_SECURE_URL
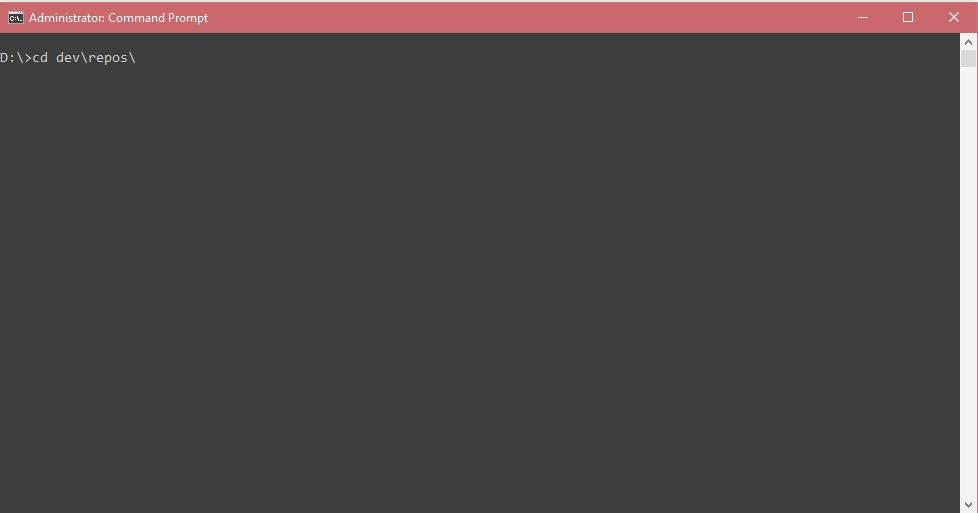
Clone GitHub Repository
Navigate to your repos folder

Create the validator.js File
Below is the validator.js file. Just move the original code into this file and reference in the index.php file.
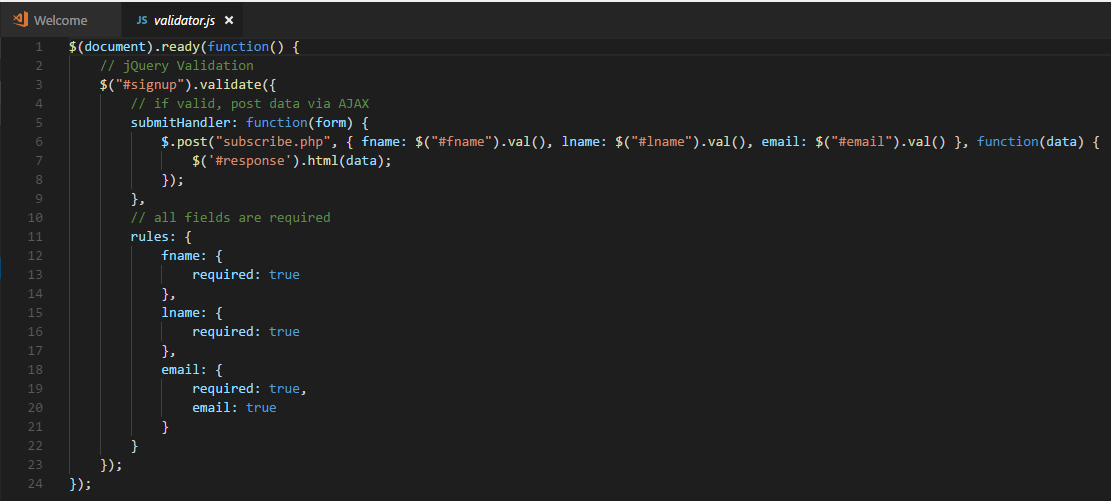
There is really no change compared to the original post. Furthermore, there was a comment on the post to clear the form upon successful submission. The writer said to just use the submit handler with some added code to the post function. However, this would clear the form each time and the end user would need to re-enter their information. Not a good user experience. I moved the functionality to the subscribe.php document on a failed submission as noted below.
Customize index.php
At this point, anyone can go and download my GitHub repo, deploy it to Azure and have an app up and running but I want to discuss the changes I made to index.php. Below is the code:
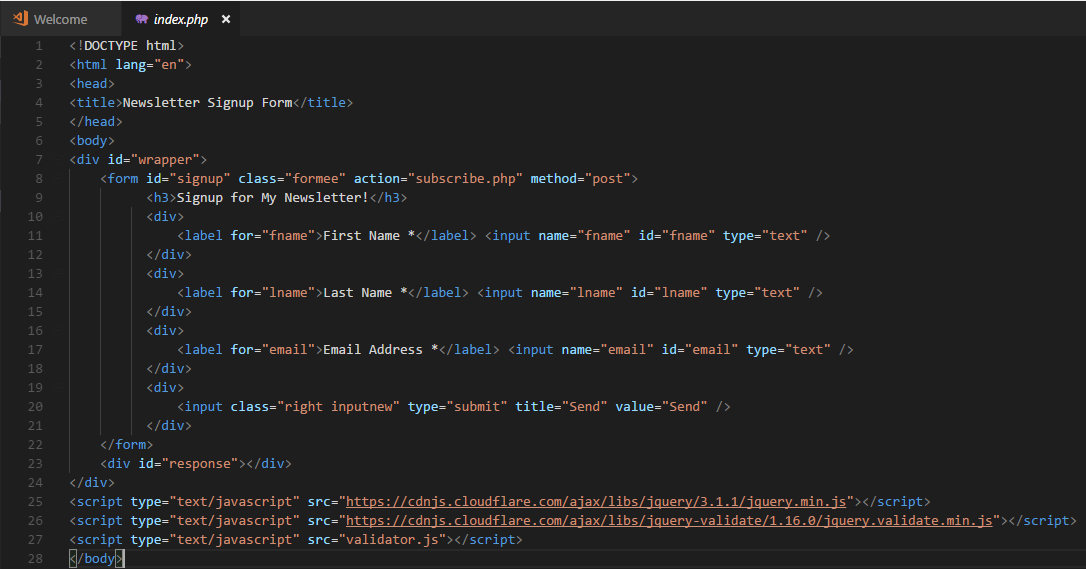
First, I moved the jQuery script into an external file source appropriately named validator.js. Having JS in your HTML is untidy. Second, I moved the references to JavaScript files below the content in the body. This gives a perceived faster page load time.
Customize the subscribe.php File
I improved the subscribe file with 2 changes.
Code for the first section.
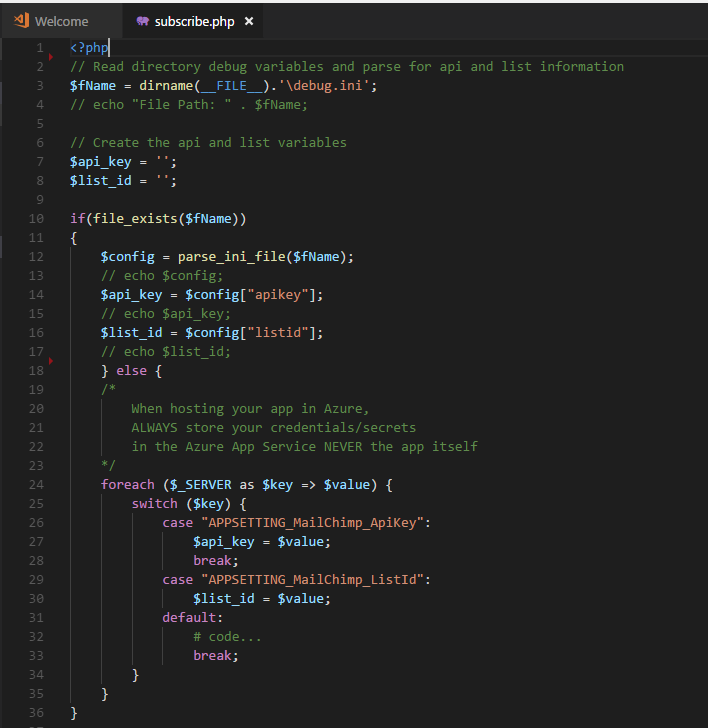
The added section removes the Api Key and List Id hard coded variables. In addition, I search the folder for a debug.ini file to read debug settings if developing locally which I provide a detailed walkthrough here on a Windows machine. If the file is missing, I then do a switch case on the key/value pairs of server variables which includes the application settings we manually set in the Add Api Key and List Id to Website Settings section. This enables scalability and simple change configuration management.
Code for the second section.
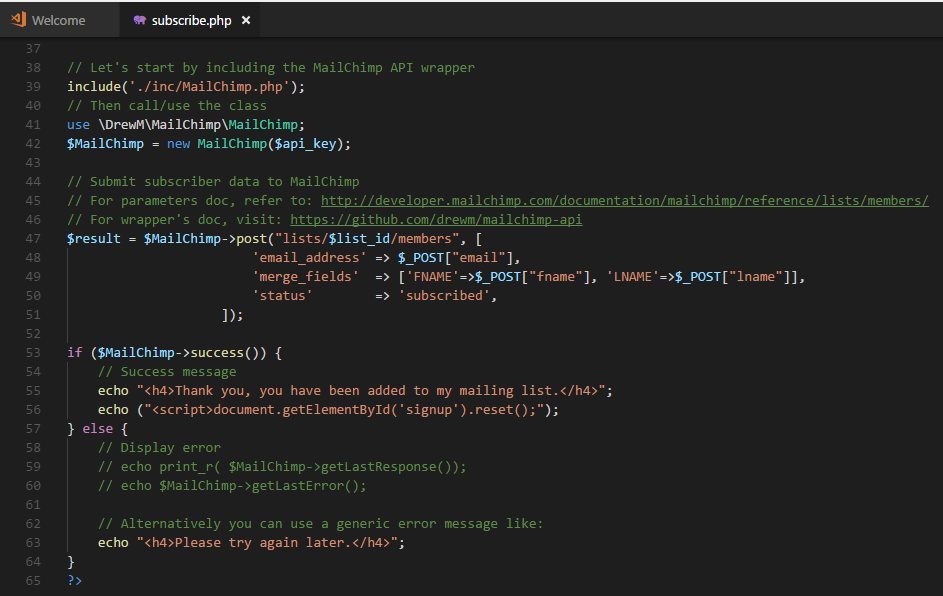
In the second change, I echo out a script to clear out the form on success. If the MailChimp Api fails, I only output a dummy message. Before, it was reading out a verbose message which I do not want end users reading or even thinking about.
Add Custom Web.config File
The final file that I added is optional and only needed for hosting on Azure or IIS. The infamous web.config file. Below is the code.
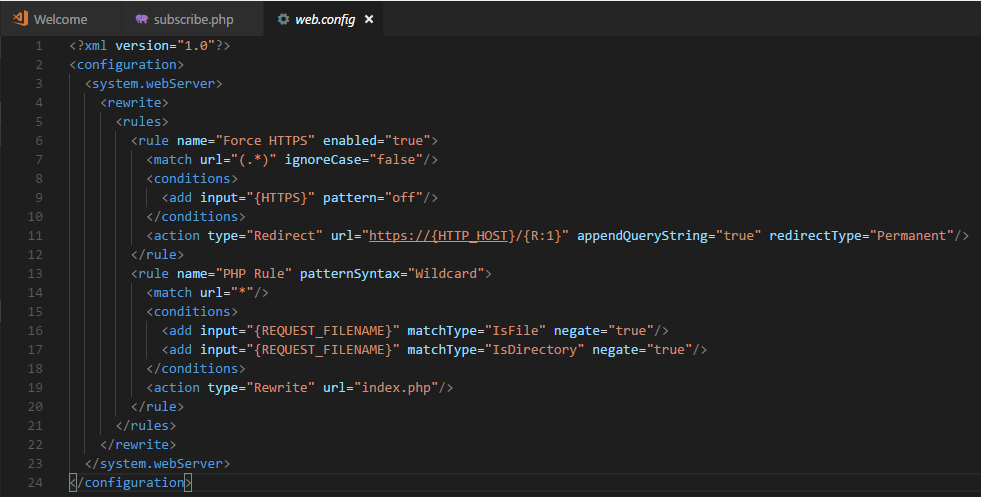
I created rules to force SSL redirect and rewrite all requests to index.php. This is because Facebook forces all apps to use SSL and Azure web apps provides a free SSL with the azurewebsites.net domain. In addition, I don’t want people hijacking requests using different default documents which is why I removed them in the Create Azure Web App step. I personally don’t think forcing SSL is a terrible thing. Every website should do it.
Deploy to Azure
In the web app on Azure, navigate to your web app
Select get publish profile and save it in a safe place

The publish settings file is just xml with a different file extension. In the publish settings file, search for FTP and grab the Host, Username and Password and enter them in your favorite FTP client.
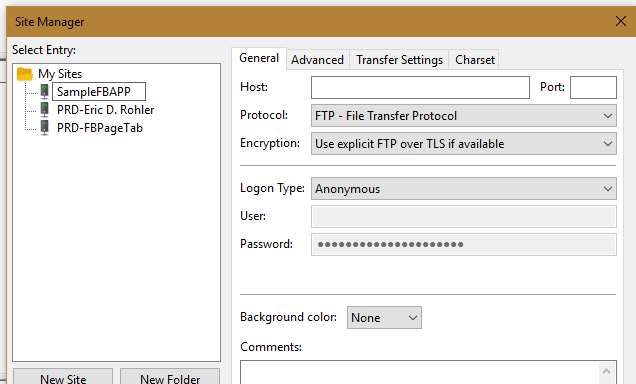
Copy your files over to the wwwroot folder in Azure and voila! App deployed.
Conclusion
Navigate to the Facebook page and there it is.

Now, go forth and style the form as desired. In fact, I plan to add the MailChimp icon so that end users are more comfortable providing their first name, last name and email.
For the record, I am aware that I could’ve just deployed the original post’s GitHub repo with my super-secret keys in the code and it would work just fine. But I am a stickler for best practice and simplicity. Knowingly, it seems simpler to just put the repo out there but if I take extra care to deploy and configure the app properly, in the long-run, it is simpler. Trust me. Lastly, my GitHub repository is here. Please feel free to reach out if you have any questions. Happy dev’ing.